SQL Server 2008 RTM Installation Instructions
I have installed SQL Server 2008 on 64 bit Windows Vista. Below are the steps for the same.
Steps:
1. Insert the SQL Server 2008 Installation media and navigate to the install folder.

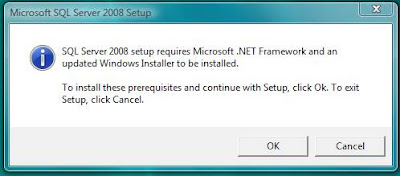
2. Run the setup.exe from the install folder. The installer checks for .NET Framework 3.5 sp1 and if not installed it will prompt you for installing it as show below.
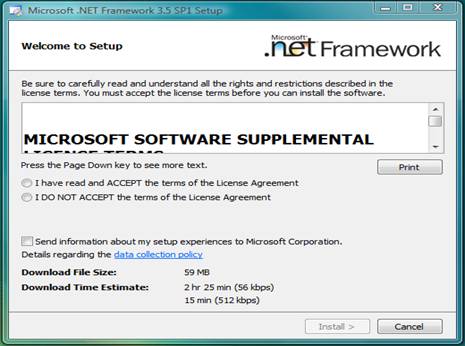
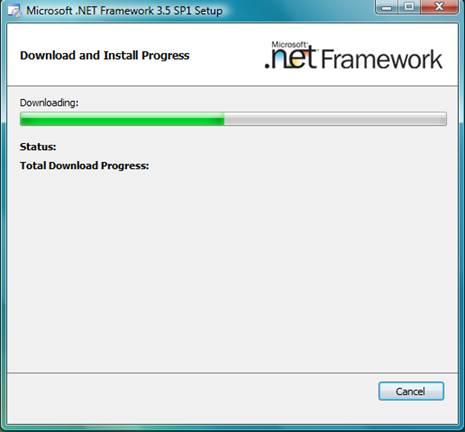
3. Accept the license terms and proceed forward.
4. After .NET Framework is installed it will prompt for Windows Installer installation.

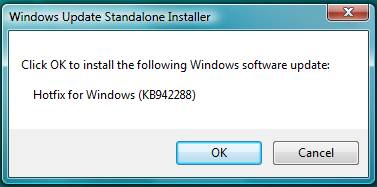

5. Once installed it will prompt for a system reboot. Please go ahead and reboot your system.

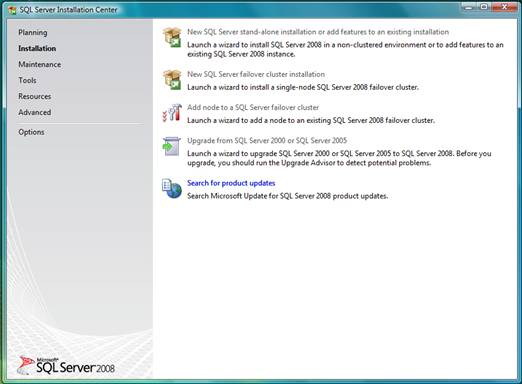
6. Once rebooted, please navigate back to the install folder and run the installer again. SQL Server 2008 has a nice Interface for installing different features. It has a total for six main tasks with each having different options.
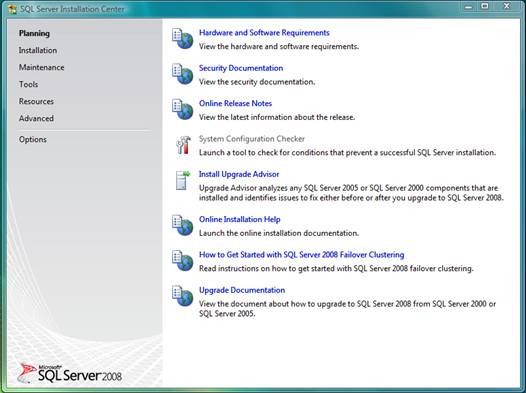
7. Clicking on the Planning -> System Configuration Checker brings up a tool for checking the conditions that might prevent a successful SQL Server installation. This will help in determining for any potential problems while installing SQL Server 2008.

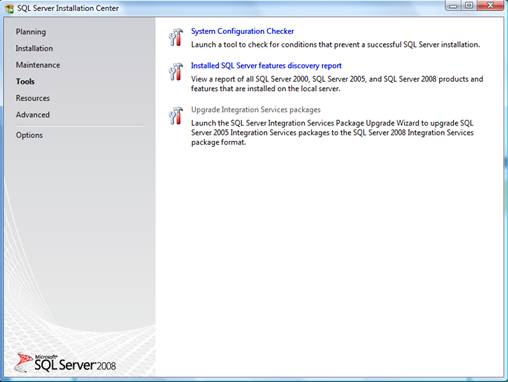
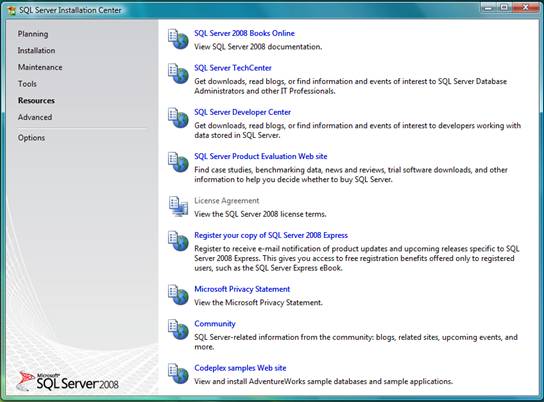
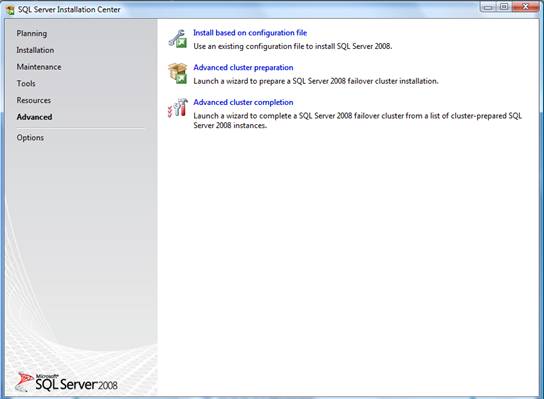
8. The rest of the screens show the different main tasks.


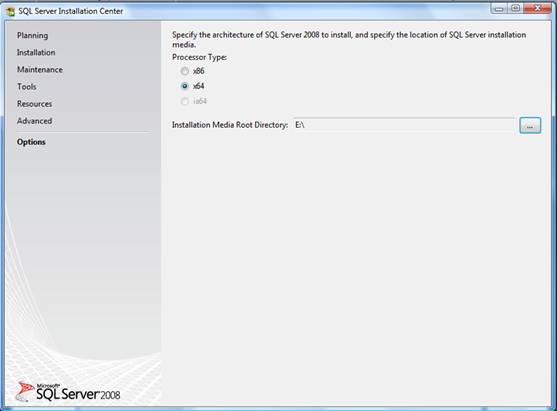
9. The options tasks determines the version for SQL Server to be installed. I will be installing the 64 bit version
10. Install the SQL Server by choosing Installation -> New SQL Server stand-alone installation
11. You can choose to install a trial version or enter the product key to install the version. I will installing the developer full version of the software.

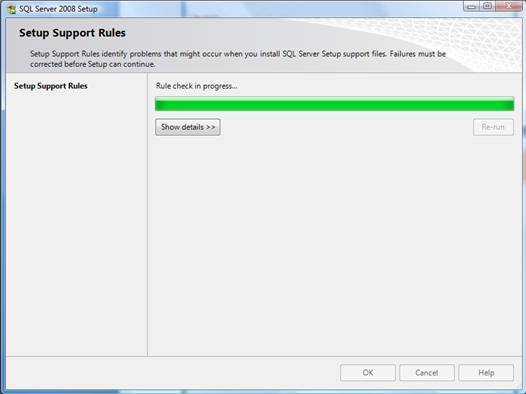
12. Accept the license terms and install the support files when prompted.


13. Any potential problems that might occur are again displayed and this cast an issue with Windows Firewall was displayed
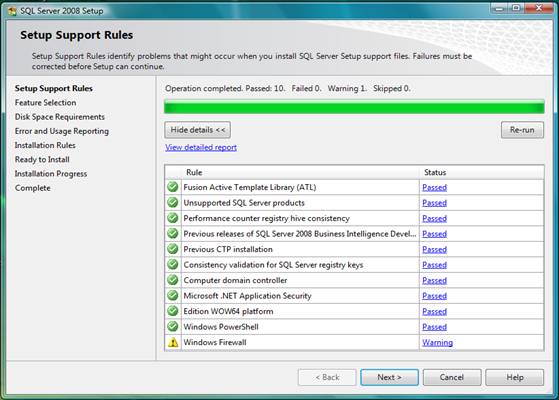

We will open up the ports later after the installation is done. The ports are mentioned at the end of this post.
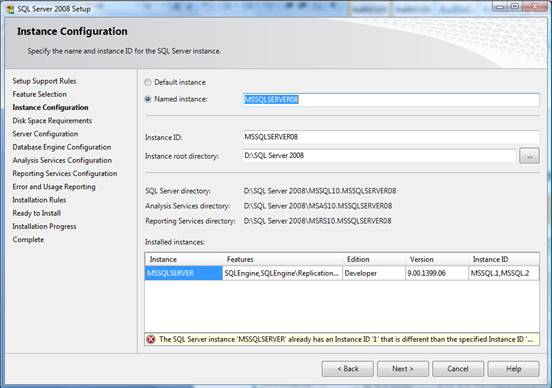
14. Next you will configure the required features. Since I will be installing SQL Server 2008 on a machine which has SQL Server 2005 installed, the default instance cannot be used to install it. A new instance with a unique name needs to be used. I will be using MSSQLServer08 (note the warning which shows up if you use the default/already existing instance name).


15. Next you need to configure the service accounts and I choose to use the same account for all SQL Service services.


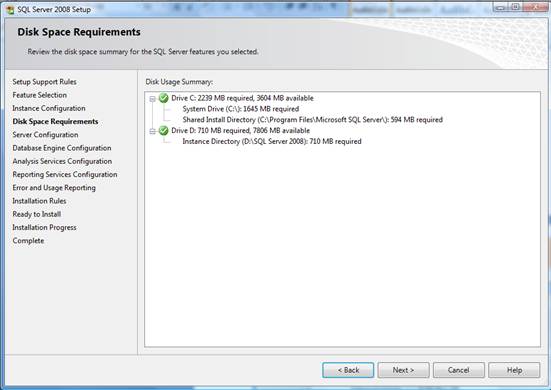
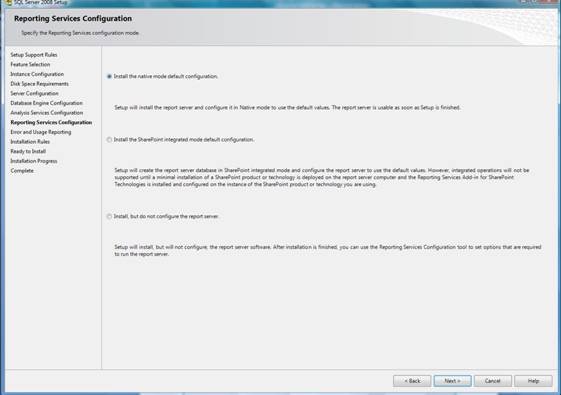
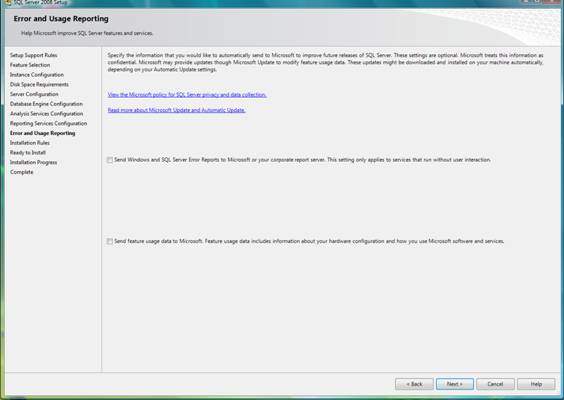
16. For each of the services, you will be able to configure the administrative accounts, installation paths as shown in the next screens…


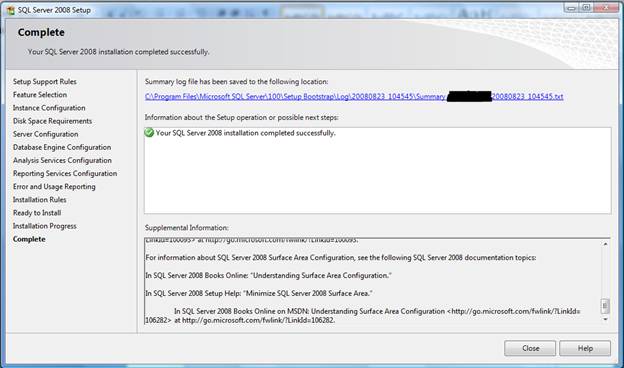
17. Please restart the system after the installation is complete.
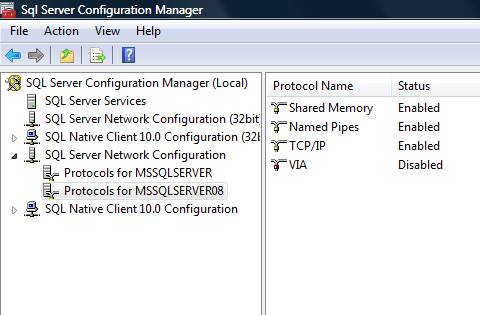
18. In order to enable remote connections to the SQL Server, the following steps need to be followed: Got to All Programs -> Microsoft SQL Server 2008 -> SQL Server Configuration Manager and enable the TCP/IP and Named Pipes protocol for the installed instance.

19. The following ports need to be opened up in the windows firewall:
Once the ports are up, you should be able to connect to SQL Server from a remote machine.
| Service Name | Port Number |
| Database Engine | 1433 |
| SQL Browser | 1434 |
| SQL Broker | 4022 |
| Analysis Services | 2383 |
| Reporting Services | 80/443 |
20. Open the SQL Server management studio and if you have SQL Server 2005 installed, the following message will come up. I did not want to import the settings from SQL Server 2005 and selected no to continue.

21. Next click yes to add the SQL Server 2005 management studio registered servers to 2008 Management studio.

You should be now ready to build and develop new databases....
References: