Recently, I started testing Windows Server 8 (or Windows Server 2012 as officially called now) and wanted to blog about this for sometime now. This is going to be the beginning of a series of posts related to Windows Server 8/2012.
The first post will cover the basic install steps of building a Windows Server 8 virtual machine using VMWare Workstation. So let’s get started.
First, let’s fire up VMWare Workstation and start creating a new virtual machine. Let’s pick the “Typical” configuration.

In the next step, we will use the Windows Server 8 Beta ISO as the install software.

Now, let’s pick Windows Server 2008 R2 as the template. I did try it using the “other” option, but the install crashed and kept on rebooting.

The next screen is used for easy install. You can leave the default settings. There is no need to enter a product key here. Actually, easy install will not work here. In a later step, we will see how to remove the install configuration file and get through the error message.

You can change the name of the virtual machine in the next screen and the path to the virtual machine folder.

Next, we will specify the disk size. You can leave the default settings or use a custom size.

Next, will be the summary screen.

Click on the customize hardware to change the hardware settings. After finishing the hardware settings, click “Finish” to create the virtual machine.

The virtual machine should start the process of creating a new Virtual Machine.

Since, VMWare WorkStation uses easy install the process and will fail when looking for a product key. You will need to remove the install configuration file in the settings window to continue the install process.

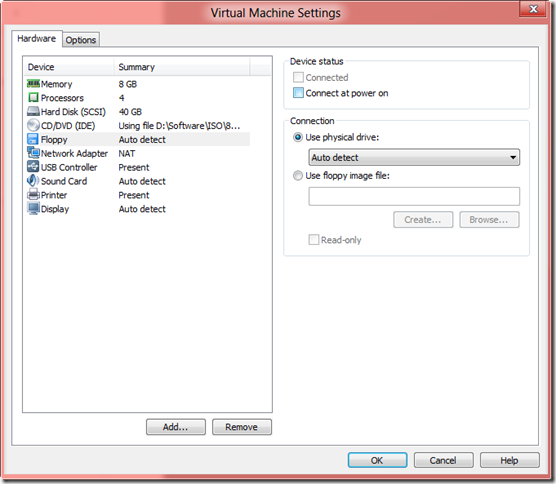
Make sure the floppy drive is not connected and uses the “use physical drive” option instead of floppy image file. The floppy image file is pointing to a configuration file which will look for product key screen. After you change the settings, click close and restart the virtual machine.
The next steps are self explanatory. The first step involves setting few basic options.


Next, you can pick Core/GUI option for configuring Windows Server 8. This is not new in Server 8. It was available in Windows 2008 R2.
Also, you can pick custom install as the option when prompted.


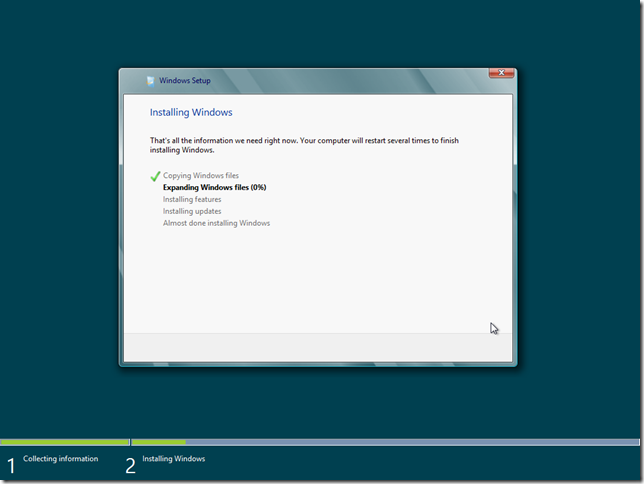
Pick the drive where the OS needs to be installed and the install will continue to copy, install features and reboot.

When prompted, enter and confirm the admin password.

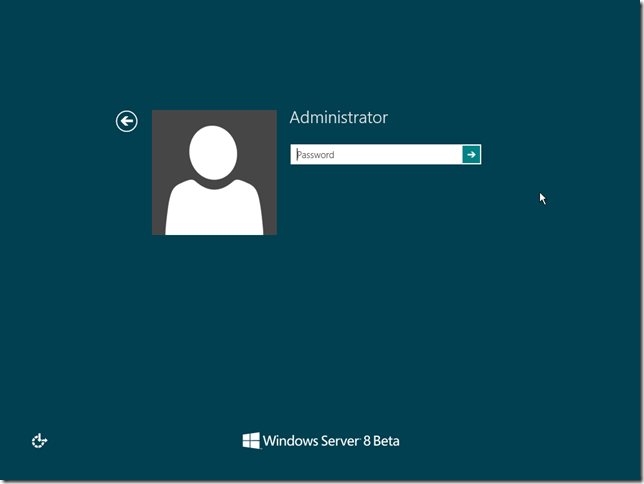
Voila ! You are done and ready with Windows Server 8.